Homes and businesses choose glass railings because they are popular, look modern and stylish while keeping people safe. Here you can find an explanation of how our glass railing company installs these railings, step by step. This is what Cypress Railings & Gates does in Glass Railing service.
The Process of Glass Railing Installation in Cypress Railings

1. Templates & Measuring
The first step in installing glass railings is measuring the area where the railing will go. The installation team cautiously measures the height and length of the area. Accurate measurements are very important because they help determine the size of the glass panels and how far apart the posts or supports should be which is of great importance in the process. After measuring, our team creates templates to show you where everything will be placed. These templates help ensure that each part fits perfectly during installation. This careful planning is not only essential for safety but also for a nice appearance.
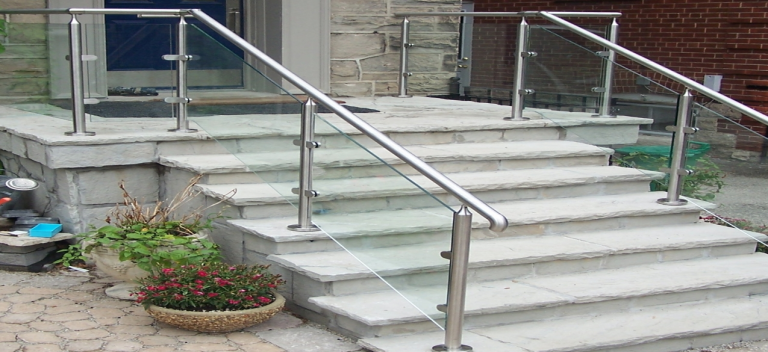
2. Installing Posts, Standoffs, Bases, or Spigots
Next, our team installs the supports for the glass panels. These supports can be posts, standoffs, bases, or spigots. The team secures these supports to the ground or wall by using strong hardware to make sure they are safe and stable. It is crucial to install these supports correctly because they hold up the glass panels. Our experts check all positions to ensure everything is aligned properly according to the templates before moving on to the next step.
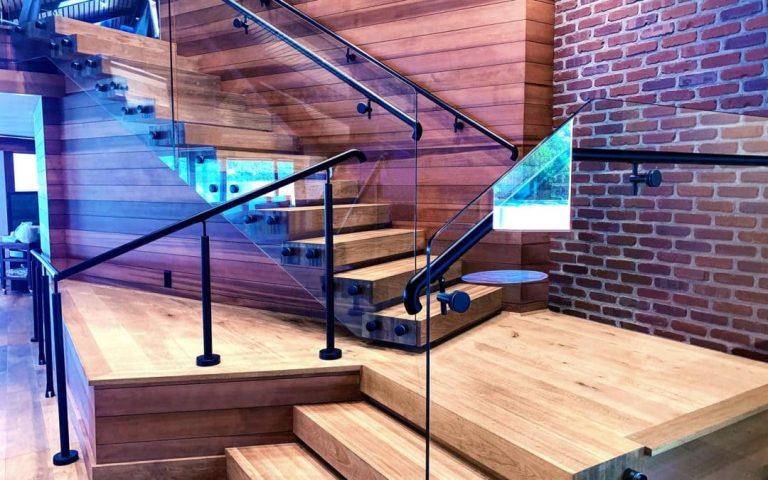
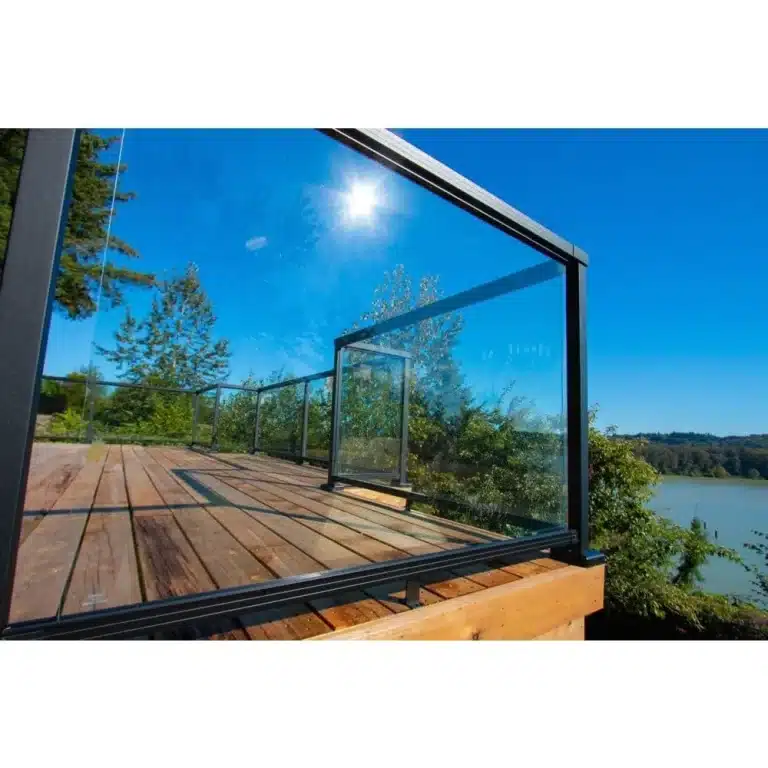
3. Glass Installation
When the supports are all in place, it’s time to install the glass panels. Our professional team carefully lifts each panel into position, making sure it fits well between the installed supports. This step requires precision as any mistake can affect both safety and appearance. Once in place, each glass panel is secured with special hardware designed for strength. In order to avoid further issues, our installers check that everything is level and aligned correctly during this process to make sure it looks great and is safe.
4. Top Rail Installation
After securing the glass panels in place, the next step is to install the top rail. The top rail provides extra support for the glass and improves the way it looks. The installation team chooses a style that matches both the glass panels and the surrounding area which is both art and engineering. During this step, they ensure that the top rail is straight and securely attached to prevent any movement over time. Proper installation of this part is important for safety and visual appeal.
5. Cleaning the Glass and Work Area
Once everything is installed, it’s time to clean both the glass panels and the work area. This cleaning removes dust or debris from installation, leaving a clear view of your new railing system. Professional cleaners may be used to avoid streaks on the glass. A clean area not only looks good but also shows that our company cares about quality service. You can see the new installation at its best, highlighting good craftsmanship.
6. Submit Engineering Documents
After finishing the installation, it may be necessary to submit engineering documents for review if required by local rules or building codes. These documents include details about how strong and safe the railing system is. Submitting these documents helps ensure everything was done correctly and meets safety standards. It also makes it easier for local authorities to inspect the work.
7. Finished
The final step means your glass railing project is complete! Clients can now enjoy their new railing system that enhances their space while providing safety and security. A successful installation shows quality work at every stage of the process. To keep your new glass railing looking great, our company offers maintenance tips and services after installation. Regular care helps maintain both its function and appearance for many years.